Images, video and embeds
Replace an image and describe it, keep the site's files in Assets, and add a video or a YouTube, Vimeo, Loom or map embed.
Images, videos and embeds are set in the Content part of the inspector. Select one on the canvas and its file, its description and its options are right there.
Change an image
Select an image on the canvas. Under Content, the inspector shows the file and its size, with everything you can change about it.

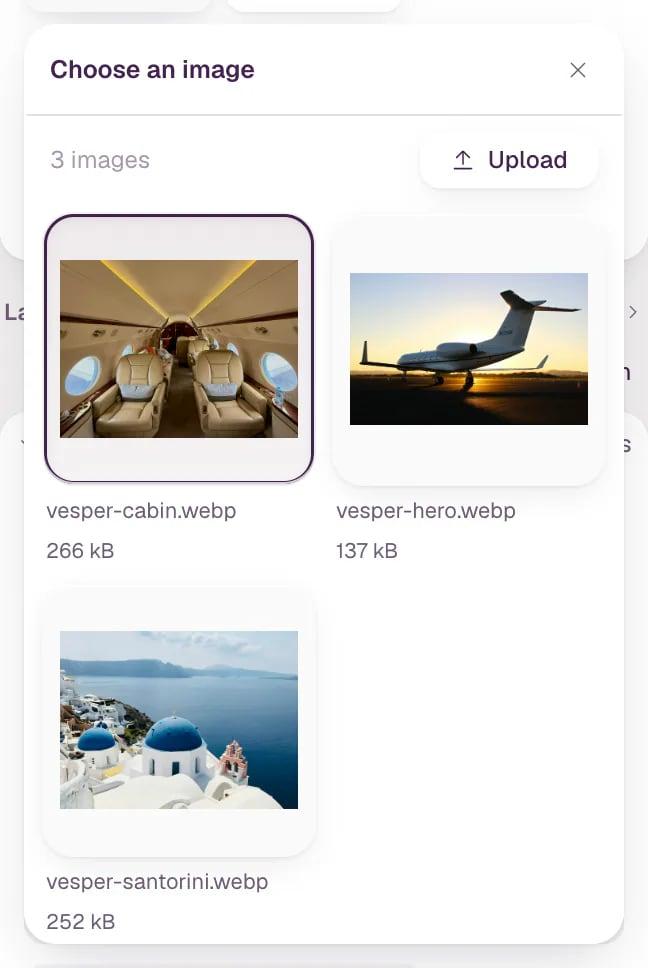
- Replace Pick another image the site already has.
- Upload Add a new image from your computer.
- Alt text What screen readers say and search engines read.
-
Select the image on the canvas.
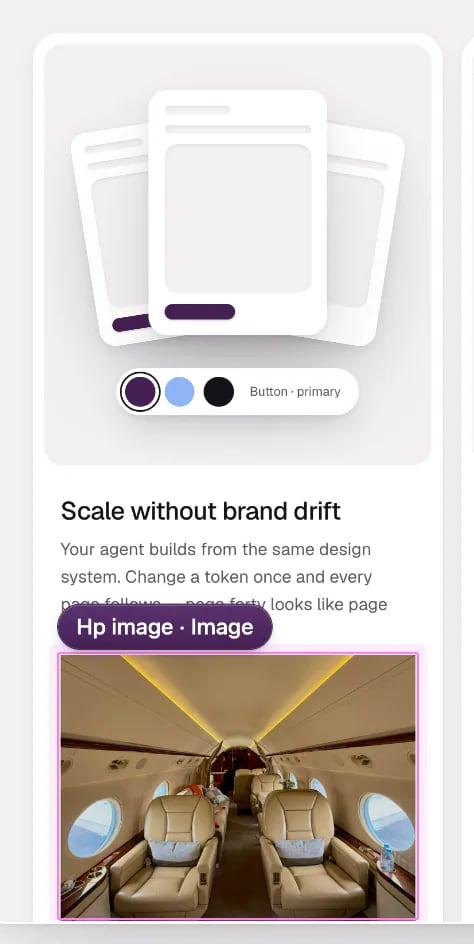
-
Click Replace to pick one of the site's images, or Upload to add a new one. The canvas shows the new image right away.
- Describe the image in Alt text and press ↵. If the image is only decoration, tick Decorative image instead and screen readers skip it.
To add a new image, open Add and click Image under Basics. It starts as a grey placeholder with Choose image and Upload, marked as decorative until you untick Decorative image and describe it.
Uploads are made lighter for the web: a large photo is resized and usually saved as WebP, so you can upload the file you have.
Note An image that comes from a collection, like a team member's photo, says From content. Replace and Upload save the new image to that item; Edit in Content opens the item.
Assets
Press S or click Assets in the left bar to see the site's images and files. Upload adds files; you can also drop them onto the panel. With an image selected on the canvas, hover a thumbnail and click Use to put it in the image. Click any file to copy its link.

- Upload Add images and files to the site.
- Use Puts this image into the selected image.
Video
Click Video under Basics in Add. Then, with the video selected:
- Choose or Replace picks a video the site already has, or paste a link to an
.mp4or.webmfile. Upload adds one from your computer, up to 25 MB. For longer videos, use an embed. - Poster is the image shown before the video plays.
- Plays sets how it behaves: Background plays by itself, muted and looping, with no controls. Player waits for visitors to press play. Custom lets you set Autoplay, Loop, Controls and Sound one by one.
Autoplay always starts muted, because browsers block autoplay with sound. A video that moves by itself without controls gets a note suggesting Controls, so visitors can pause it.
Embeds
To show a YouTube, Vimeo or Loom video, or a Google map, click Embed under Code in Add and paste the link from the address bar or the Share menu. The line under the field says what it found before you insert it.

For a map, use Share › Embed a map in Google Maps and paste that link. Once the embed is on the page, the inspector lets you change the link, its Name for screen readers, when it Loads and whether it can go Full screen. Its size and shape are set in Style, like any other element.

Custom code next to Embed takes any snippet, like a booking widget, and adds it as it is.
Tip Next: add a section, or change the text around your images in Edit text and links.