The editor at a glance
Four areas around your live site: the top bar, the left panel, the canvas and the inspector. What each one is for, and the keys that get you there.
The editor has four areas around one thing: your real site, running in the middle. Whatever you click there is what you edit.

Hover a number to see the area. Click the screenshot to see it full size.
- Top bar The site and page, the preview width, undo and Publish.
- Left panel Seven areas: pages, layers, elements, assets, design, content and forms.
- Canvas Your site, live. Click anything to select it.
- Inspector Change the selection yourself, or ask the agent.
Top bar
On the left are the site and the page you're editing. The site menu has Site settings…, Export site and Add language…; click the page name to switch pages. On the right are undo and redo, View site, which opens the page exactly as visitors will see it, and Publish.
The middle of the bar controls the preview.

- Width The breakpoint you're on and the preview width. Drag the ruler or type a width.
- Breakpoints Add a breakpoint or change the widths your site switches at.
- Mobile peek A phone-width copy of the page next to the canvas.
Styles you change are saved for the breakpoint you're previewing, so a fix for tablets doesn't move the desktop layout. The number keys switch between your site's breakpoints: 1 is Desktop, and the next keys step down to Mobile.
Mobile peek
Mobile peek keeps the phone layout in sight while you work on the big one. Select something in either view and the selection follows in both. Close it with the × above it.

Turn on Mobile peek, select something, and both views follow.
Left panel
The narrow bar on the left switches between seven areas. Each one has a single-letter key.
| Area | Key | What it's for |
|---|---|---|
| Pages | P | Open and add pages, SEO overview, redirects |
| Layers | L | The page as a tree: select, hide, lock and reorder |
| Add | A | Text, buttons, images, forms and embeds to drop onto the page |
| Assets | S | Uploaded images and files, and the site's interactions |
| Design | D | The design system: colors, fonts, type, spacing, buttons and motion |
| Content | C | Collections and their items — opens full width |
| Forms | F | Submissions and notifications — opens full width |
⌘\ collapses the panel into the bar, and pressing it again pins the panel back next to the canvas.
Canvas
The canvas is your site running live, not a picture of it. Click an element to select it — a label above it shows its name. Click text twice or press ↵ to type, and ⌘↵ saves. Esc deselects.
Inspector
The inspector on the right belongs to whatever is selected.

- Selection What's selected and the element it sits in. Click the parent to select it.
- Edit / Agent Change it yourself, or describe the change to the agent.
- Where it applies The breakpoint, the state (like Hover), and whether you change this button or every button.
Below that are the element's settings in four groups: Content, Layout, Style and Interactions. With nothing selected, the inspector shows the page instead — how it looks in Google and the sections on it.
⌘K opens Find & add. Type what you want to change, like "rounded" or "hover color", and jump straight to it.
Try it: from the canvas to Layers
-
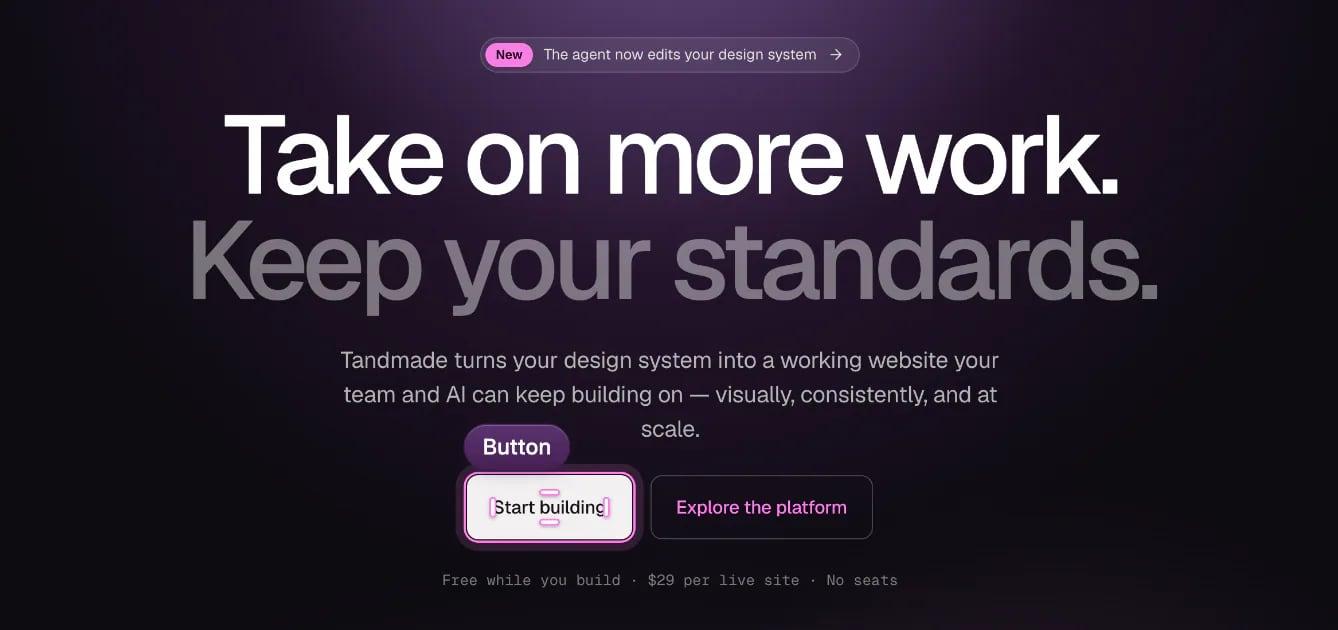
Click a button on the canvas. A label with its name appears above it.
-
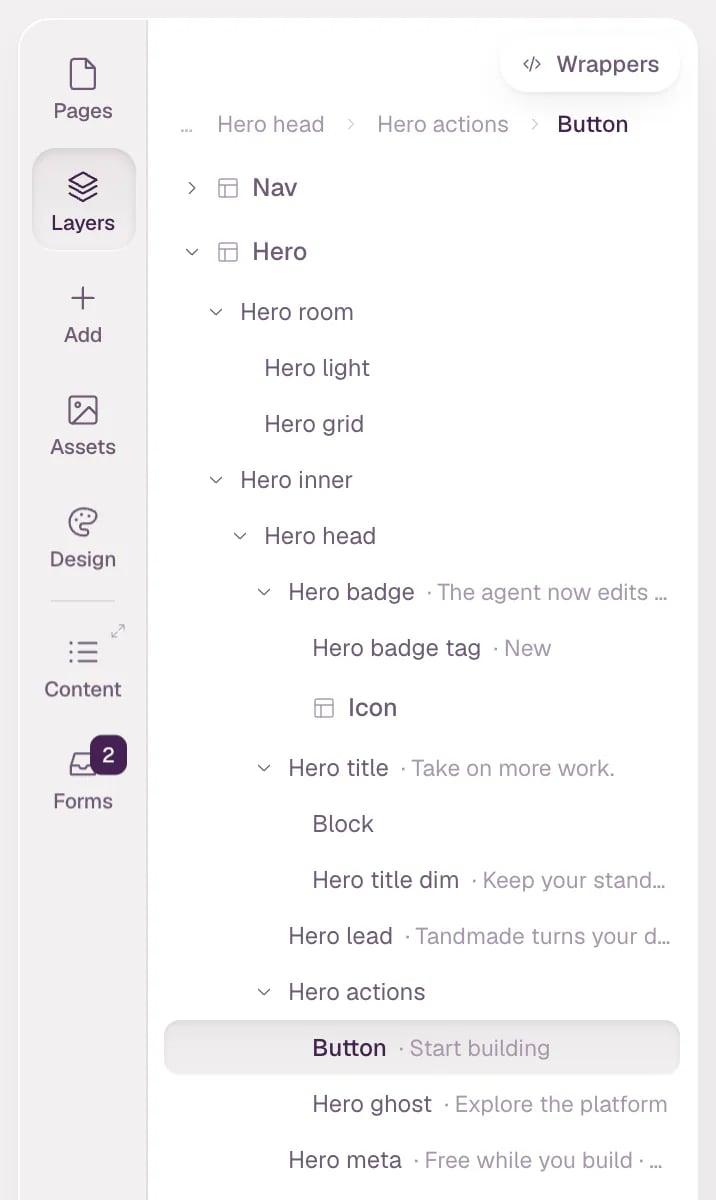
Press L to open Layers. The tree opens down to the button and highlights its row; the path above the tree shows where it sits.
-
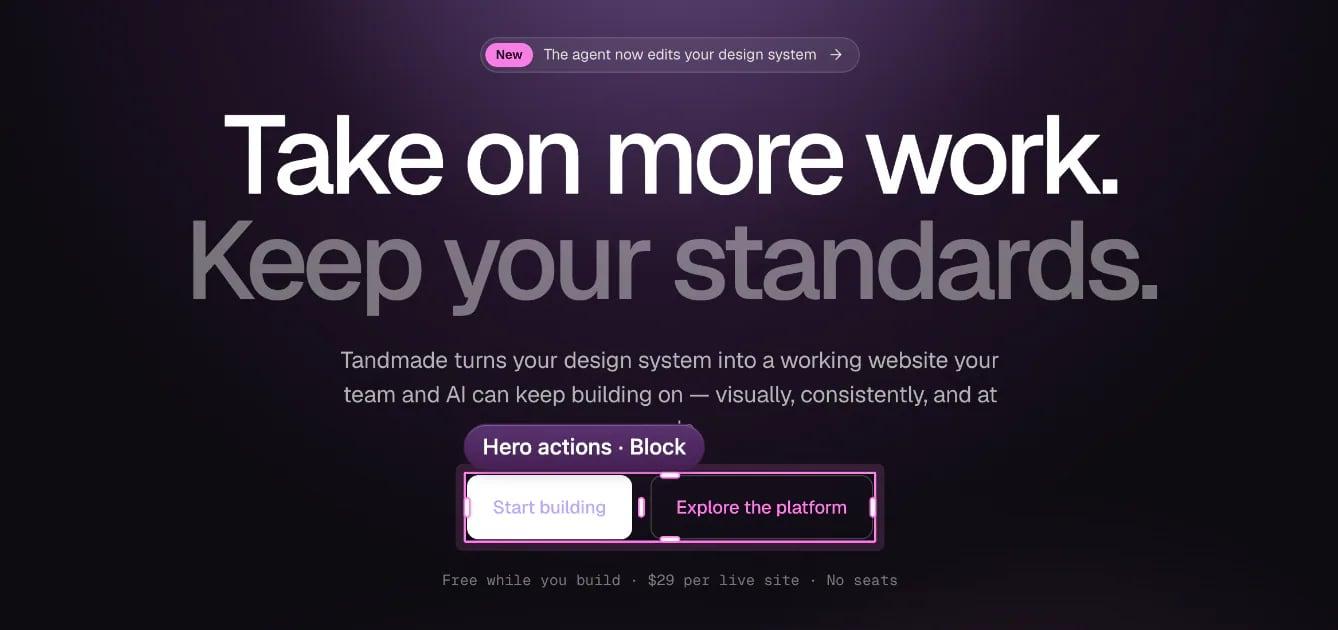
Press ⇧↵ to select the parent. The selection grows to the block that holds both buttons.
Tip Every shortcut is on one page: Keyboard shortcuts. Next, work with the agent or publish your site.